
Decoupaging with printer paper has become a popular crafting technique. The advantages of using this method are numerous and include:
- a cost-effective alternative to traditional decoupage materials
- unlimited possibilities for designs
- ease-of-use
When using printer paper for decoupaging, your options are virtually limitless in terms of color, pattern, and image. With the ability to print out any design onto plain printer paper, you can easily customize your craft projects to match your desired aesthetic. Additionally, compared to other decoupage materials like napkins or tissue paper, printer paper is much cheaper and readily available.
Furthermore, unlike other decoupage materials that may tear or wrinkle during application, printer paper is more durable thanks to its sturdiness. This factor helps create an easy-to-work-with novice-level project that can be used with various items such as boxes or picture frames.
It is interesting to note that some people have reported their printers jamming while trying to print on certain types of thicker papers or cardstock. Therefore it’s important when printing a design from a digital image make sure it’s flattened when printed for an even solid thin layer without the ink layer breaking up.
Who needs expensive decoupage paper when you can just print out your own benefits with a trusty printer?
Benefits of Decoupaging with Printer Paper
Paragraph 1: Decoupaging with Printer Paper – A Convenient Art Form
Decoupaging with printer paper is an art form that offers convenience and creativity. Without the need for specialized materials, this versatile technique allows for endless possibilities in creating attractive and cost-effective crafts.
Paragraph 2: Benefits of Decoupaging with Printer Paper
- Variety: The use of printer paper provides a wide range of decorative choices, including patterns, colors, and images.
- Easy Availability: Printer paper is readily available, and can be easily printed at home or purchased from any stationery or art supply store.
- Cost-Effective: Decoupaging with printer paper is a cost-effective method of creating unique and personalized crafts without the need to spend excessively on expensive materials.
- Durability: When decoupaging with printer paper, the images are printed onto paper which can be coated with a layer of varnish, ensuring their durability over time.
- Easier Cutting: The thinness of printer paper makes it easier to cut and apply to various surfaces, allowing for greater precision and attention to detail.
- Customization: With the use of a printer, images and designs can be customized, resized and printed as per individual preferences.
Paragraph 3: Enhance your Craft Projects with Decoupaging using Printer Paper
Decoupaging with printer paper presents a broader scope of options to enhance craft projects for both beginners and professionals. The addition of layers, textures, and elements complements the visual appeal of the final product and offers a unique perspective to each craft object.
Paragraph 4: A Personal Experience
A few years ago, a friend of mine shared her new found craft using printer paper for decoupage. Intrigued, I decided to give it a try and was amazed by the endless possibilities and easy execution. Since then, I have explored the use of different designs and images, leading to many interesting craft projects. Decoupaging with printer papers has become my go-to creative outlet, and I recommend it to anyone who is looking for an unconstrained yet straightforward way of expressing themselves through art.
Decoupaging with printer paper may not make you wealthy, but it will definitely make your wallet happy.
Cost-effective
With decoupaging techniques, you can make your craft projects cost-effective by repurposing printer paper. This method is an affordable alternative to purchasing expensive patterned papers. Not only does it save you money, but it also allows you to create a personalized design for your craft project.
Using printer paper for decoupaging allows you to explore unlimited possibilities in terms of color and pattern choices. You can customize each piece according to your requirements, creating unique designs every time. Furthermore, this technique is perfect for people with limited storage space as printer paper takes up less space compared to bulkier patterned papers.
A vital tip for the best results while using printer paper for decoupaging is to select high-quality paper with a good thickness and texture that will hold up well during the crafting process. By investing in quality materials upfront, your final product will reflect a professional-grade appearance.
Decoupaging with printer paper is so easy, it’s like cheating on a DIY project.
Convenience
The process of decoupaging with printer paper provides an effortless way to create stunning art pieces conveniently. By using readily available printer paper, you can easily and quickly decorate a variety of surfaces, including furniture, boxes, and frames. The versatility of the materials allows for unlimited creative possibilities.
Not only is it convenient, but it also reduces waste and saves money. Instead of going out to buy expensive speciality papers or throwing away old printer paper, you can repurpose it by transforming it into unique decorations.
Furthermore, unlike traditional decoupage methods that require cutting out individual designs or patterns, printing designs onto the paper offers precision and ease. You can select any image from your computer and print them with inkjet printers without any complications.
In history, decoupage originated in France in the 17th century as a way to imitate Asian lacquerwork. Over time it emerged as a popular form of art among European aristocrats during the Renaissance period. Today, this technique has evolved into an accessible DIY craft that anyone can enjoy!
Decoupaging with printer paper: even if you suck at painting, you can still pretend you’re artistic AF.
Versatility
In crafting with printer paper, its adaptability allows for a multitude of creative possibilities. Its wide-ranging capacity to be fashioned into various shapes and sizes makes it an excellent option for those looking to incorporate their artistic vision. From decorative embellishments to home furnishings, the versatility of decoupaging with printer paper is unparalleled.
| Versatility | Columns |
| Benefits |
|
Aside from its flexibility, creating artwork with printer paper has many other advantages. It allows individuals to modify colors or graphics without losing resolution quality and is straightforward to handle compared to regular scrapbooking paper—a perfect option for beginners.
Stemming from ancient Egypt’s custom art of decorating items through the use of decoupage, this methodology has been prevalent since being introduced in Europe in the seventeenth century. Over time, artists have honed the craft, bringing new innovations to improve workflow and aesthetic appeal – making printer paper ideal as added decor elements.
Printer paper and decoupage supplies are more available than common sense at a political rally.
Availability
Printer paper is widely available across various stores and online platforms. Here are some points to consider when it comes to the availability of printer paper for decoupage:
- Printer paper is readily available in different sizes, thicknesses, colors, and textures.
- It is easily accessible in office supply stores, craft stores, big-box retailers, and online marketplaces.
- You can also obtain high-quality specialized printer paper for decoupage from art supply stores or directly from manufacturers.
- The cost of printer paper for decoupage varies depending on the brand, quality, and size of the paper.
- Popular brands such as Avery, Canson, Mod Podge and Epson offer an extensive range of printer paper options catering to various applications.
- With ample availability of a wide range of printer papers, you can experiment with different types without burning a hole in your pocket.
In addition to the above points, remember that you can use various resources online such as forums and reviews to help you make informed decisions about which type of printer paper works best for your decoupage project.
Pro Tip: Always keep extra stock of the same type of printer paper while working on a particular project to ensure consistency throughout.
Get ready to add some personal flair to your decoupage projects because customization just got a whole lot easier (and cheaper) with printer paper!
Customization
With the process of personalizing and individualizing your crafts, you can make them unique to your taste or purpose. This can be achieved through a process known as crafting customization.
- Customization using printer paper enables you to create designs that are tailored to your preferences.
- You can choose from a variety of images, patterns, and colors.
- It allows you to incorporate meaningful quotes or personal messages into your crafts.
- Using printer paper in decoupage can help you achieve a cohesive and harmonious overall design.
- You can also alter or customize the size and shape of different elements through printing.
To obtain an outstanding final product by personalising it is worth every penny of time and effort.
The customisation possibilities with printer paper aren’t limited to its visual components only. Depending on the objective, customize items like birthday presents or announcement cards by choosing the right types of paper materials.
Speaking about creating personalised products using printer decoupage papers reminds me of my friend’s wedding ceremony. To impress her guests, she created customised invitation cards that featured beautiful floral designs printed on unique specialty paper. The sight was a breathtaking display of creativity!
Get your printer and your scissors ready, because decoupaging with printer paper is about to become your new favorite hobby.
How to Decoupage with Printer Paper
Decoupage is an art of decorating surfaces by sticking paper, fabric, or any other material to them. It is a great way to personalize and refurbish various items in your house. Printing papers can be a fantastic material to decoupage with as it gives you endless design options.
Here is a simple 4-step guide on how to decoupage with printer paper:
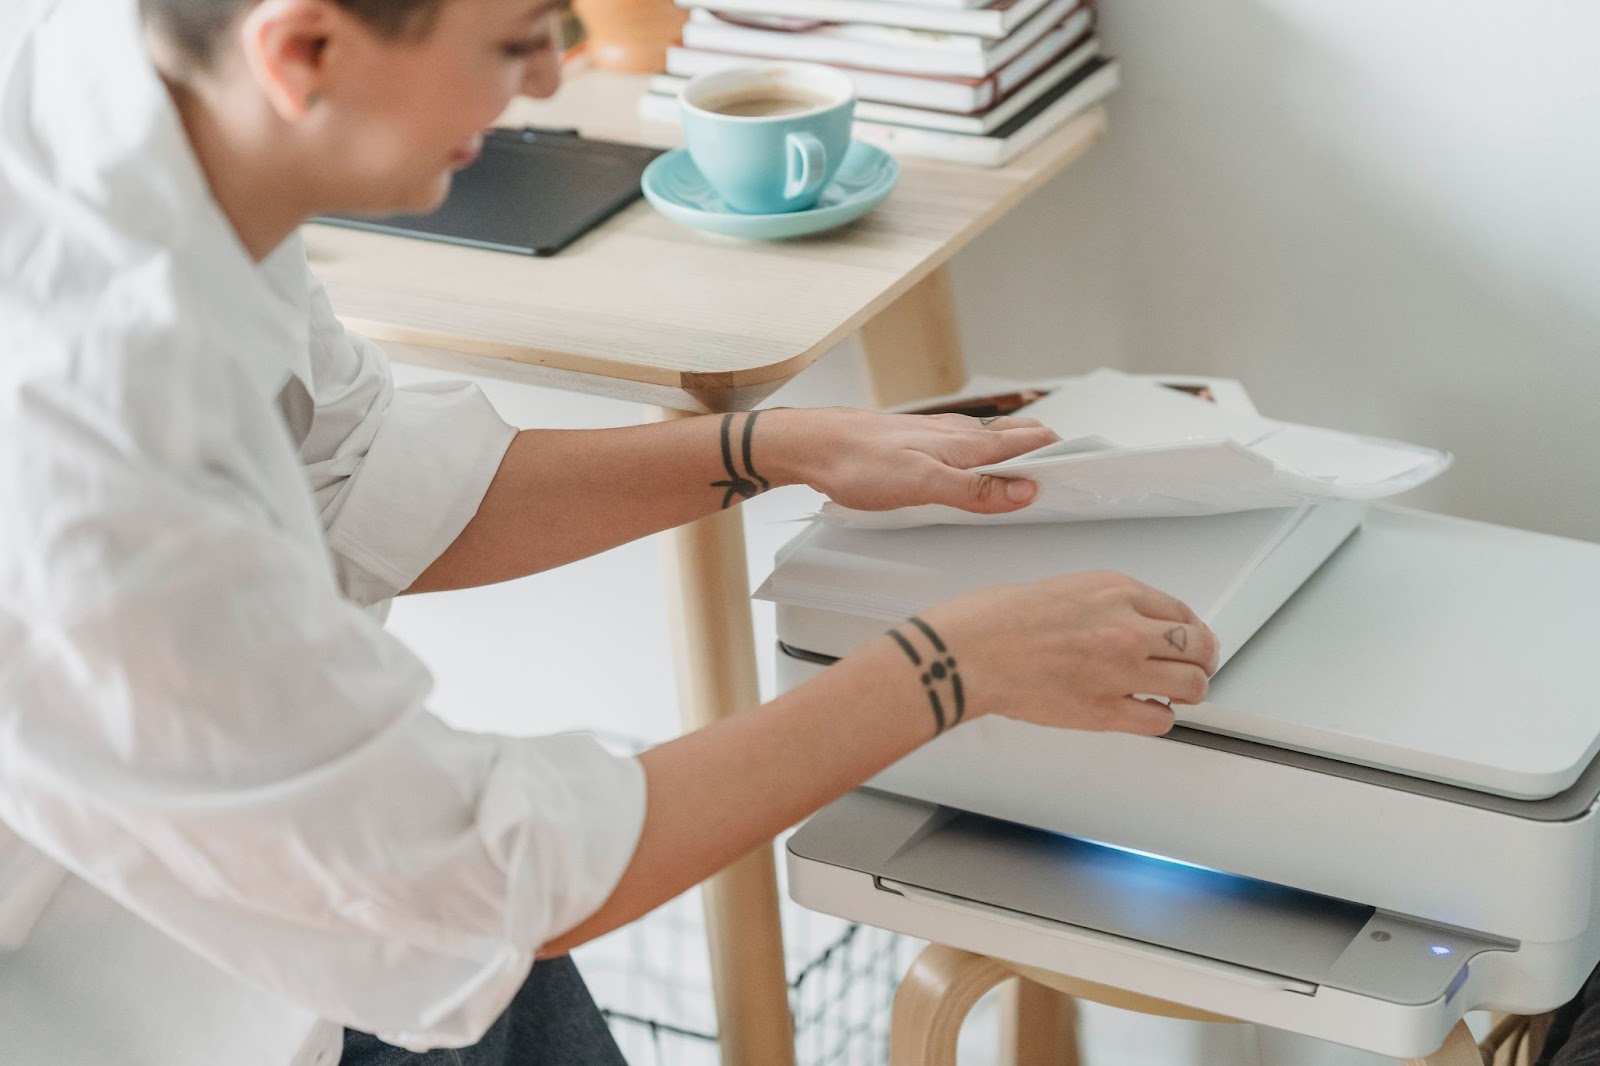
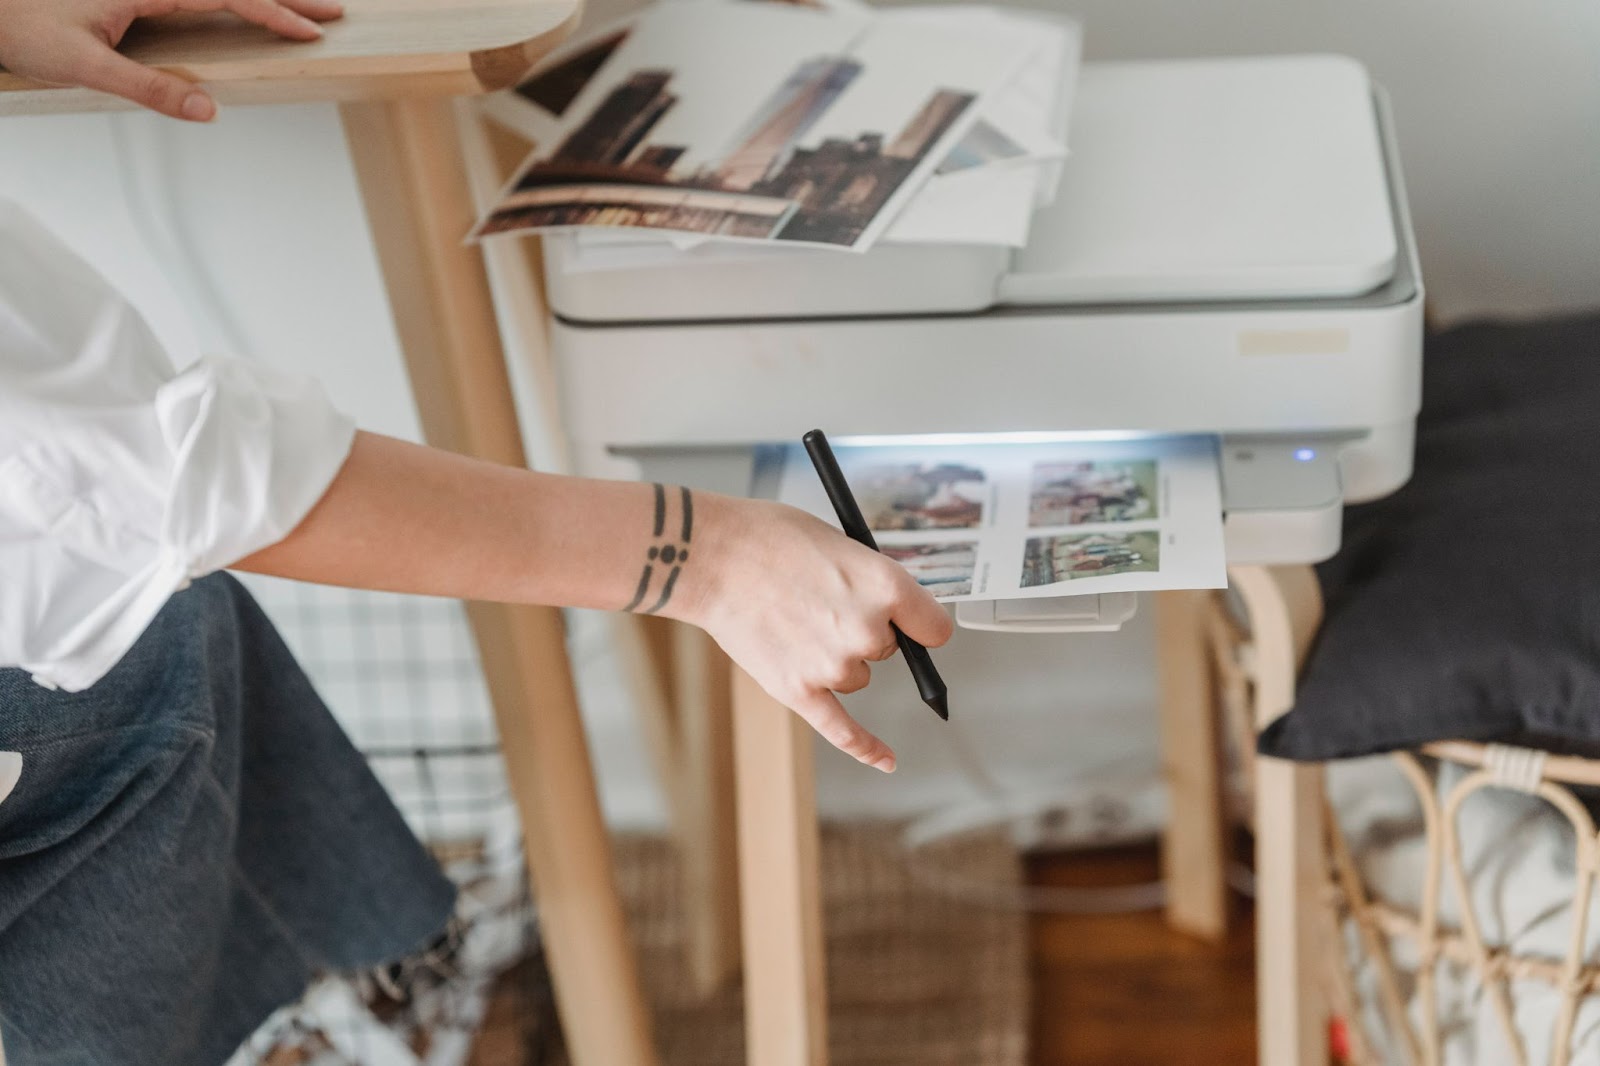
- Choose your printer paper with a design you like, and print it out.
- Cut out the design elements from the printed paper.
- Apply a thin layer of decoupage glue to the area you want to cover with the paper.
- Carefully position the paper design on top of the glue and smooth it out using a brush or a card.
When choosing your printer paper to decoupage, ensure it is not too thin as it may tear easily. Also, avoid using papers with a high gloss finish as they may not adhere well to the surface.
Pro Tip: Seal the decoupage project with a layer of varnish to protect it from wear and tear.
Don’t settle for crappy printer paper, unless of course you want your decoupage to look like a kindergarten art project.
Choosing the Right Printer Paper
When selecting the perfect printer paper for decoupage, it is important to consider factors such as thickness, texture and finish. The following table outlines these key factors to consider when selecting the printer paper for decoupage.
| Factor | Description |
| Thickness | Paper should be thick enough to not tear or wrinkle during the process. |
| Texture | Select a paper with a smooth surface for better adherence. |
| Finish | Glossy finishes are ideal, but matte can also work well. |
When choosing the right printer paper, keep in mind that different printers have varying levels of ink absorption. It’s best to test print on sample sheets before committing to the final print. To ensure the best possible outcome, make sure that the image size matches the object you will be applying it to. Printing at a high resolution is also important for crisp and clear results. To enhance the end result of your decoupage project, consider investing in some specialized tools such as cutting mats, precision knives and adhesive brushes. These tools will help you achieve a clean and polished look. Get ready to smooth things over with your surface – no need to call in a therapist, just a little sandpaper and elbow grease.
Preparing the Surface
First Steps in Decoupaging:
To ensure a smooth decoupage process, it’s crucial to have a surface primed and waiting. This “Prepping the Foundation” guarantees a proper canvas for our printer paper artwork to adhere to.
Simple Steps on How to Prep the Foundation:
- Clean the surface: Use soap and water or an alcohol-based cleaner to wash the item/s you’re going to decoupage onto. Wipe it dry.
- Sandpapering: If the material is slick, use sandpaper with 220 grit or higher until the surface is roughened just enough for priming.
- Prime: Once your surface is cleaned, apply primer paint as soon as possible after it had dried properly.
Materials like metals or ceramic have additional prepping phases that require heat treatment of approximately 300 degrees Fahrenheit before final coating with enamel.
Pro Tip: Remember to create a stable base by ensuring that there are no cracks over the items’ surface area that could lead to detachment from adhesion.
Get ready to unleash your inner paper ninja as we take on the task of cutting and arranging the printer paper for decoupage.
Cutting and Arranging the Paper
Cutting and Arranging the Decoupage Paper involves a meticulous process of precision and balance. One must select the appropriate shapes, sizes, colors, and textures to create an aesthetically pleasing design.
Here is a 4-Step Guide on how to Cut and Arrange your Decoupage Paper:
- Choose the desired printer paper that will suit your design. Ensure that it complements the surface you will be decoupaging.
- Cut out preferred shapes from the paper using scissors or craft knife. Cut carefully along the outlines; it’s vital to have sharp edges for a seamless final product.
- Arrange the pieces you have cut out onto the surface you intend to decoupage. Try different designs until you achieve your desired pattern while ensuring an even distribution of color, texture, and size holistically.
- Once satisfied with the pattern, glue each piece with Mod Podge or decoupage medium until all are attached securely to avoid wrinkling or bubbling during application.
It’s essential to note that intricate designs may require more time and patience.
To achieve optimal results ensure consistency in images’ orientation and placement continuity throughout your decoupage artwork masterpiece.
Did you know? The word “decoupage” derives from the French verb “decouper,” meaning “to cut.” Its roots date back to East Siberian Tomsk where peasants created fake artifacts resembling items found in luxurious areas like St Petersburg by sticking paper prints onto wooden objects as early as 1700s.
Just remember, when applying Mod Podge, less is more – unless, of course, you’re going for the I-accidentally-dipped-this-in-glue look.
Applying Mod Podge
To properly adhere printer paper when decoupaging, it is important to understand the steps for applying Mod Podge. Start by using a brush to apply a coat of Mod Podge onto your surface. Place your printer paper onto the Mod Podge and press down firmly, smoothing out any wrinkles or bubbles with your fingers. Allow the first layer of Mod Podge to dry completely before repeating these steps until all necessary layers are applied. The following are the key steps to adhere printer paper when decoupaging:
- Brush on a coat of Mod Podge.
- Press printer paper onto surface.
- Smooth out bubbles and wrinkles.
- Repeat layers until satisfied.
It is important to note that the thickness of each layer should be thin, making sure not to over-saturate your paper or surface. Additionally, using different types of Mod Podge such as an outdoor or glitter formula can provide unique finishes for different projects. I have seen firsthand the importance of properly applying Mod Podge when decoupaging with printer paper. A friend attempted to rush through the process and ended up with air pockets and wrinkled paper on her project, causing it to look unprofessional and unfinished. By taking the time to properly apply each layer, you can ensure a smooth and beautiful finish on any decoupage project involving printer paper. Don’t forget to seal your masterpiece, unless you want it to look like your printer had a party with some glue and paper.
Finishing Touches
Once you’ve completed the decoupage with printer paper, it’s time to add those final embellishments. These little details can make a big impact on the finished product. Consider adding a touch of glitter or using a metallic paint marker to create delicate outlines around chosen images.
To ensure your final touches are seamless, double check that all edges are securely glued down and there are no air bubbles present. Ensure that any added paint or glitter is evenly distributed without creating any lumps or bumps.
As you finish up the project, keep in mind that small changes can have a big impact. When deciding which embellishments to use, consider the overall style you’re going for and choose accents that complement each other. Perfection isn’t necessary as minor imperfections add charm and personality.
Remember, your creativity is key with this technique so don’t be afraid to get experimental! With these finishing touches, you can take your decoupage project from good to delightful without much effort.
Get ready to impress your friends with your newfound ability to turn printer paper into DIY masterpieces, or at least impress yourself with your ability to not glue your fingers together.